
Configure Single Sign-On (SAML) with Okta
These steps will guide you through setting up the single sign-on integration between Forumbee and Okta.
Supported Features
The Okta/Forumbee SAML integration supports the following features:
- SP-initiated SSO
- IdP-initiated SSO
Configuration Steps
1. Log in to your Okta administration area.
2. Navigate to Applications.
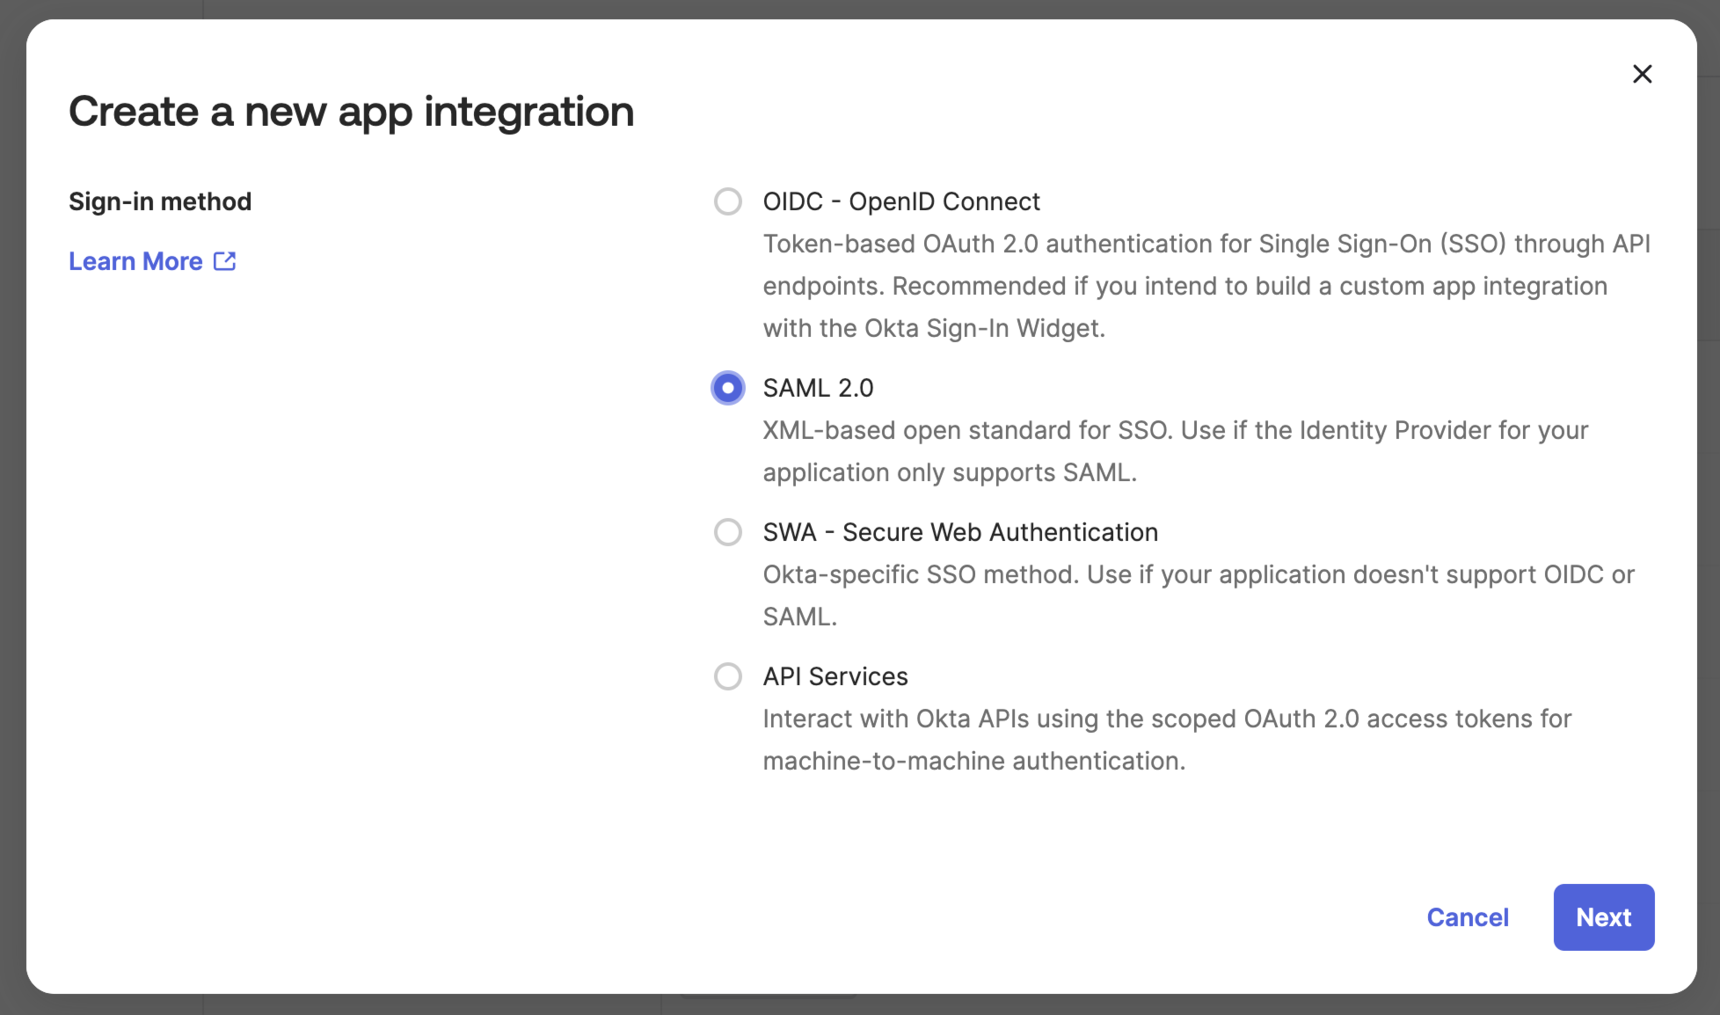
3. Select Create App Integration.
4. Select SAML 2.0. Click Next.
Step 1: General Settings
5. For App name enter “Forumbee” or your Forumbee community name.

6. Upload an App logo. To use the Forumbee logo, right-click and download this image:
![]()
Then upload the image into Okta. Click Apply.

7. Click Next to proceed to Step 2 Configure SAML. You will enter values from your Forumbee account.
Step 2: Configure SAML
8. Log in to your Forumbee account as an administrator.
9. Navigate to Admin > Integrations > SAML.

10. Select SSO Settings. You will copy these values into Okta in the upcoming steps.

11. In Okta, under SAML Settings, enter the following values from Forumbee:
- Single sign on URL: Copy the SSO Consumer URL from Forumbee.
- Audience URI (SP Entity ID): Copy the Audience value from Forumbee.
12. Leave the Default RelayState field in Okta blank.
13. Set Name ID format to Unspecified in Okta.
14. Set the Application username to Okta username.
15. Set the Update application username on to Create and update.

16. Under Attribute Statements, configure the following attribute mappings:
Required mappings:
| Name | Name format | Value |
| firstname | Unspecified | user.firstName |
| lastname | Unspecified | user.lastName |
| Unspecified | user.email | |
| id | Unspecified | user.id |
Optional mappings:
| Name | Name format | Value |
| tagline | Unspecified | user.title |
| avatar | Unspecified | user.profileUrl |
17. Click Next.
Step 3: Feedback
18. For App type, select This is an internal app that we have created.

19. Click Finish.
Final Steps
20. On the Sign On tab in Okta, under Sign on methods > SAML 2.0, click More details to expand the section.

21. In another browser window, go to the Forumbee Identity Provider Setup section.

22. Copy the following values from Okta into Forumbee:
- SSO Logon URL: Copy the Sign On URL from Okta.
- SLO Logout URL: Copy the Sign out URL from Okta.
- Issuer URL: Copy the Issuer value from Okta.
- Download the Signing Certificate from Okta, open the file in a text editor, copy the text, and paste it into the Certificate field in Forumbee.
Tip: It should start with "-----BEGIN CERTIFICATE-----" and end with "-----END CERTIFICATE-----".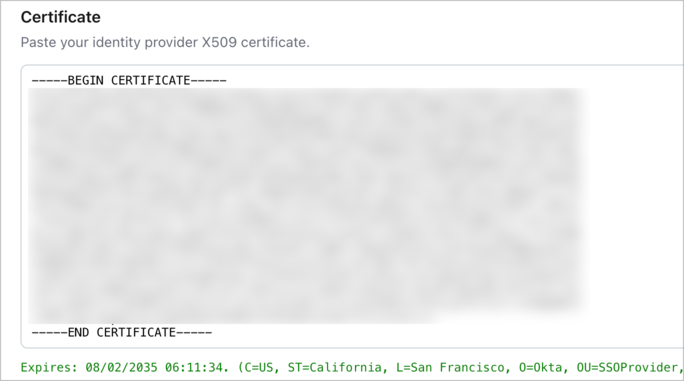
23. In Forumbee, click Save.
24. In Forumbee, select Enable to enable SAML login.

25. In Okta, assign users to the app. Navigate to the Assignments tab in Okta and add users and/or groups.
By following these steps, you will successfully configure SAML SSO between Forumbee and Okta.
Configure Forumbee Login Options
Follow these steps to set up SAML login options in Forumbee.
1. In Forumbee, navigate to the SAML 2.0 configuration area and click Login Options to expand the section.

2. Enforce SSO:
- If you want to require all users to log in through Okta, check this option. To avoid being locked out of your account, keep this option disabled until you have completed the SSO configuration and verified that it is working correctly.
3. IP address range:
- If you want users from specific IP addresses to be required to log in through Okta, check this option.
4. Show SSO option on Forumbee login form:
- This option is enabled by default. It adds a button on the Forumbee login page for SSO login. You can customize the button label here.
5. Allow users to change their own display name:
- Enable this option to allow users to change their display name in Forumbee to something other than their display name in Okta.
By configuring these options, you can customize the login experience for your users and ensure a smooth transition to using SSO with Okta.
Advanced Options
Group Assignment
You can assign users to Forumbee groups based on their Okta group memberships by using an Okta Attribute Statement. Follow these steps to configure group assignments:
1. In Okta, navigate to Applications and select the previously configured Forumbee app.
2. Click the General tab.
3. Under SAML Settings click Edit.
4. In 1 General Settings click Next.
5. Under 2 Configure SAML, scroll down to Attribute Statements. (Note: Do not use the Group Attribute Statements.)
6. Click Add Another and enter the following:
- Set Name to “groups”.
- Set Name format to Unspecified.
- In the Value field, enter the following:
Single group assignment
To assign a single group in Okta to a single group in Forumbee, enter the following:
isMemberOfGroupName("TechTeam") ? "TechnicalUsers" : ""- Here, the “TechTeam” group in Okta is being assigned to the “TechnicalUsers” group in Forumbee.
Multiple group assignment
To assign multiple groups in Okta to their corresponding groups in Forumbee, enter the following:
Arrays.flatten(isMemberOfGroupName("HRTeam") ? "HumanResources" : "",isMemberOfGroupName("Execs") ? "Executives" : "")- Here, “HRTeam” and “Execs” are Okta group names, and “HumanResources” and “Executives” are the corresponding Forumbee group names.
Multiple Okta groups assigned to single Forumbee group
To assign multiple groups in Okta into a single group in Forumbee, enter the following:
(isMemberOfGroupName("TechTeam") || isMemberOfGroupName("OpsTeam")) ? "Employees" : ""- Here, “TechTeam” and “OpsTeam” are Okta group names both being assigned to the “Employees” Forumbee group name.
Best Practice
- Avoid using spaces in Group names in Okta and Forumbee. This helps to ensure the best results when working with group assignment rules.
Optional: Use !groupname Notation
To ensure users are removed from a Forumbee group if they are not members of the corresponding Okta group, use the !groupname notation in your expression. For example:
isMemberOfGroupName(“HRTeam") ? "HumanResources" : "!HumanResources"- In this example, if the user is in the Okta group "HRTeam", they will be added to the Forumbee group "HumanResources".
- If they are not in the Okta group "HRTeam" it will ensure they are removed from the Forumbee group "HumanResources".
Save Changes
7. Click Next, then Finish to save the changes.
Role Assignment
By default, users are assigned the standard Member role when they log in with Okta. To elevate a user to the Moderator role based on their Okta group membership, follow these steps:
Elevating Users to Moderator Role
1. Edit SAML Integration:
- In Okta, navigate to Applications and select the previously configured Forumbee app.
- Click the General tab.
- Under SAML Settings, click Edit.
2. Proceed to Attribute Statements:
- In 1 General Settings, click Next.
- Scroll down to Attribute Statements under 2 Configure SAML.
3. Add Attribute Statement:
- Click Add Another and enter the following:
- Set Name to “role”.
- Set Name format to Unspecified.
- In the Value field, enter the following:
isMemberOfGroupName("OktaModerators") ? "1" : "" - Here, “OktaModerators” is the name of the group in Okta to be assigned the Forumbee moderator role.
Important Note
Users cannot be elevated to the Admin role through Okta. The Admin role can only be assigned from within the Users area in the Forumbee Admin Console.
Configuring Single Logout
Single Logout ensures that when a user logs out of Forumbee, they are also logged out of Okta in the same browser session. Follow these steps to configure Single Logout.
1. In the Forumbee SAML integration setup area, expand the SSO Settings panel.
2. Under Certificate, click Generate new certificate.

3. A certificate will be generated. Copy and paste the text into a plain text document.
4. In Okta, navigate to Applications and select the previously configured Forumbee app.
5. Click the General tab.
6. Under SAML Settings click Edit.
7. In 1 General Settings click Next.
8. Under SAML Settings click Show Advanced Settings.
9. Next to Signature Certificate click Browse files and select the file you saved in the previous step.

After uploading the file, ensure it shows the certificate details:

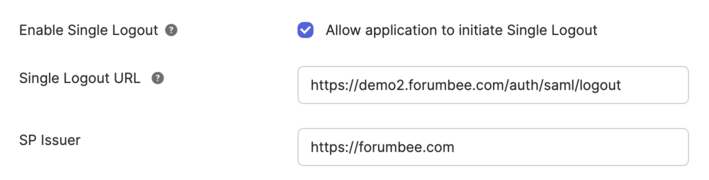
10. Next to Enable Single Logout check the option Allow application to initiate Single Logout.
11. In Forumbee, copy the Single Logout URL and paste it into the Okta field Single Logout URL.
12. In Forumbee, copy the Audience and paste it into the Okta field SP Issuer.
13. Click Next.
14. In Step 3 Feedback, click Finish.