
Setting Up a Private Group and Assigning Members
This guide walks you through creating a private discussion space where only designated members can view and participate in conversations. This is ideal for team discussions, committees, customer product groups, or specialized project collaboration.
Use this setup to:
- Keep sensitive discussions private from your broader community
- Ensure only the right people can see and contribute
- Keep group members engaged with automatic post notification
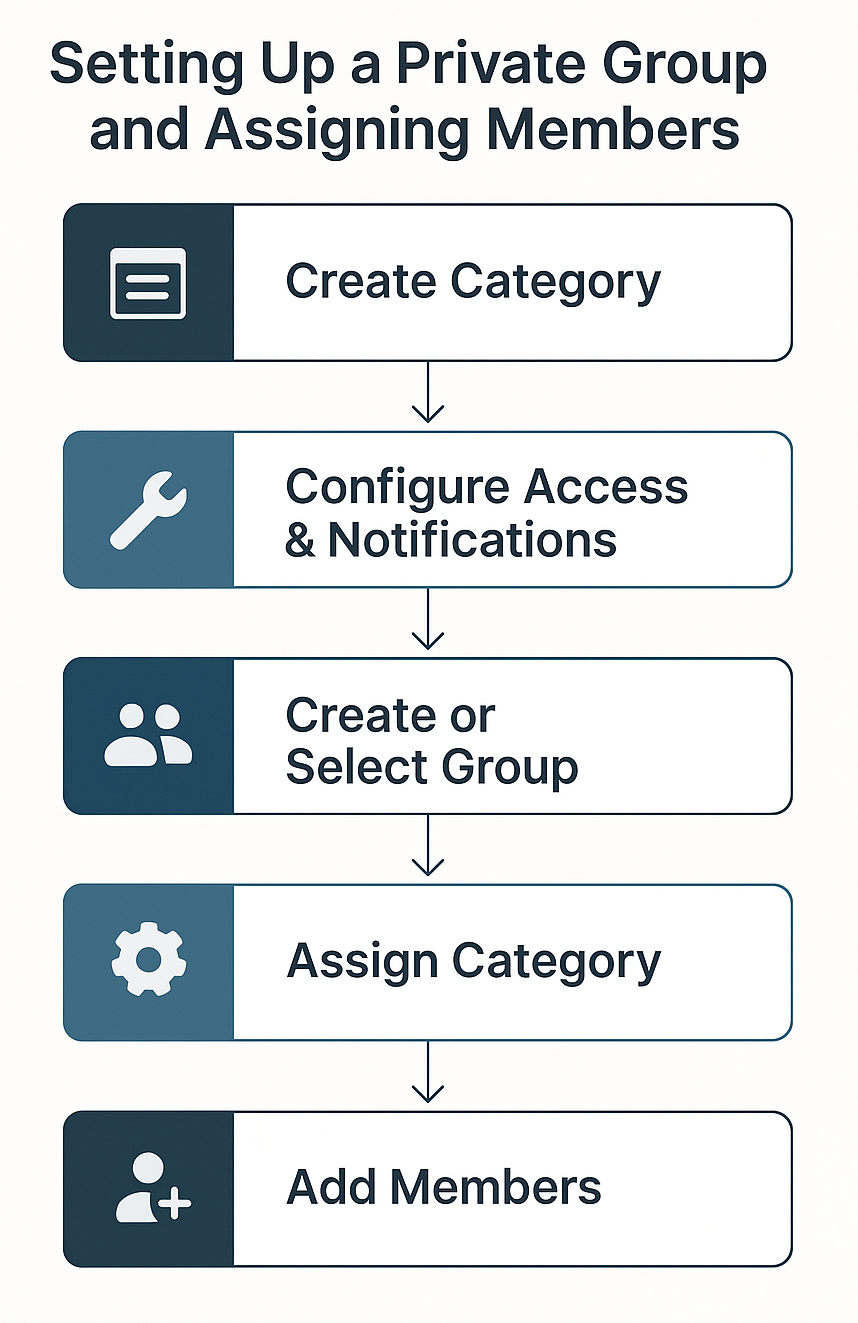
Step 1: Create the Category
- Go to Admin → Categories → Add Category.
- Select Discussions (or another category type).
- Enter a clear, descriptive name (ex: Team Discussions).
- Place it in the desired section (ex: “Groups”). (You can also move it into another section later if needed.)
- Click Save.
Tip: Choose a name that reflects the group’s purpose so members can easily find it.
Step 2: Configure Category Access
- Open the category you just created.
- Expand Access.
- Select Specific members. This makes the category private and only visible to members you assign.
- Click Save.
Step 3: Configure Category Notifications & Member Visibility
- Go to Category → Settings → Notifications.
- Turn on Auto-notify all users.
This automatically joins all assigned members and notifies them of new posts. - Go to Category → Settings → More Options.
- Turn on Enable join option and members tab.
This allows members see who else is in the group via the Members tab.
Step 4: Create or Select a Group
- Go to Admin → Users → Groups.
- Select an existing group or click Create New Group.
- In the group settings, go to the Access section.
- Check the category you created in Step 1.
- Click Save.
Step 5: Assign Members to the Group
There are three methods for assigning members to a group. You can bulk add many users at once, assign members one by one, or automatically assign them through SSO.
Bulk Add
- Go to Admin → Users → Groups and select your group.
- Expand the Users panel and click Add.
- Paste the list of member email addresses.
- Uncheck Send invitation if your community uses SSO because SSO users gain access through your identity provider, not through email invitations. Only check this option if you want to send an email invite to a direct-login user.
- Click Add Users.
Single Add
- Go to Admin → Users.
- Click a member to expand their details.
- Expand the Groups section.
- Check the group to assign them.
SSO-Based Group Assignment (Automatic)
If your community uses SSO, you can assign members to groups automatically based on attributes passed from your identity provider.
For example:
- Azure AD / Okta: use a user’s Group, Department, or Role claim
- Map the value of that claim to a Forumbee group in your SSO integration.
When configured, users are automatically added to the correct Forumbee group upon login, no manual assignment needed.
This is the recommended method for large or enterprise teams because it keeps membership up to date automatically.
Next Steps
Once members are assigned and the category is linked to the group:
- Members will be automatically joined and notified of new posts in the private category.
- They will also appear in the group’s Members tab, allowing members to see who else is in the group.