
Adding and customizing categories
Your new community is preconfigured with an initial set of categories. You can modify or delete these as well as add new categories.
Add a new category
- Go to Admin > Categories and click Add Category.

- Select the category type.

- Enter a category name and optional category intro, then click Save.

- Your category has been created!
- Additional options can be configured here including settings, access controls, moderators, and notifications.
- Click View Category to visit the category in the community.
- Click the Categories tab to continue adding additional categories.

Modify existing categories
You may change settings for a category at any time.
Go to Admin > Categories and select a category.

- Category options are grouped into panels. Click a panel to expand it and edit the settings, then click Save.
- Settings: Change category name, description, and control who can add new topics.
- Access: Set the category to public, private, or set an access code.
- Users: If your category is private, you can assign user access here.
- Moderators: Assign members who can moderate posts in this category.
- Notifications: Control email notifications sent for activity in this category.
- More Options: Additional options including controlling replies, enabling the events calendar, and enabling the join option.

- Topic Order: By default, topics in the category are sorted with the most recently active topics first. To change the sort order, click the Topic Order tab. The available sort order options are:
- Active
- Newest
- Updated
- Most likes
- Alphabetical
- Manual (with this option selected, you can drag and drop topics here to change their order)

- You have successfully edited your category! Click View Category to go directly to the category in your community.
Delete a category
To permanently delete a category and all of its posts, follow these steps.
⚠️ Caution: Deleting a category permanently removes the category, including all of the posts and activity in the category.
Go to Admin > Categories and click the category.
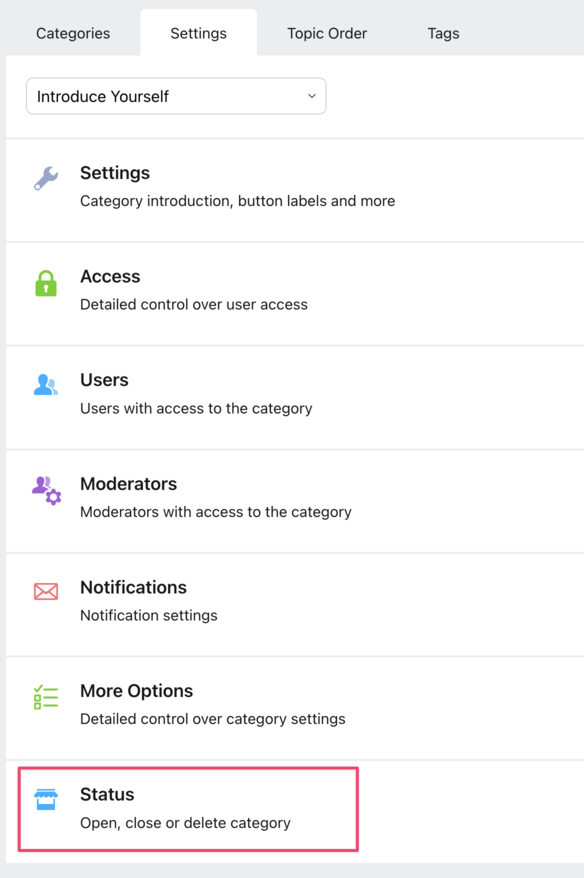
In category settings, click the Status panel to expand it.
- Click Delete category.
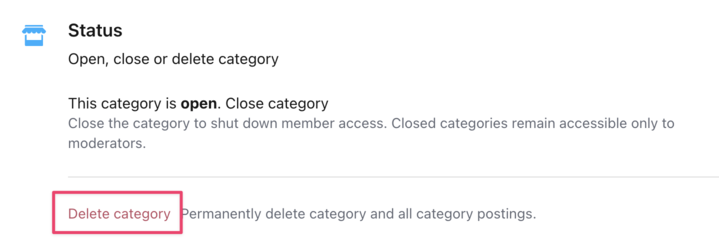
- You will be asked to confirm the deletion. Type the word delete into the field and click Permanently Delete.

Reordering Categories
To change the order of categories, go to Admin > Categories. Click the grab handle on the left side of the category and drag and drop into its new position.

Organizing Categories in Sections
Sections are like folders and can be used for organizing categories hierarchically. For example you can create a section called "Knowledge Base" and move your article categories into it. Sections can also contain nested sections.
- In Admin > Categories and click Add Section.
- Enter a name for the section and click Save.
- That's it! Your section has been created.
- Add categories and sections to it by dragging and dropping:

Related Articles